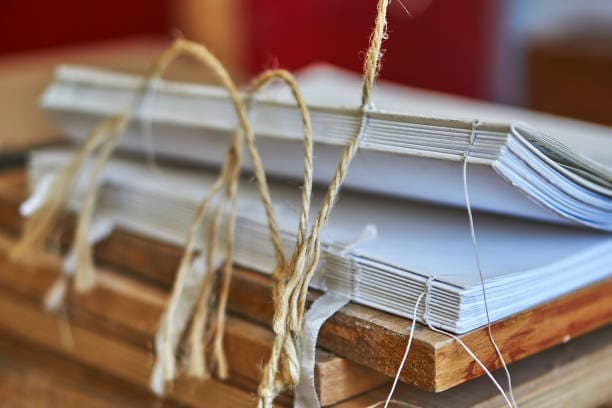
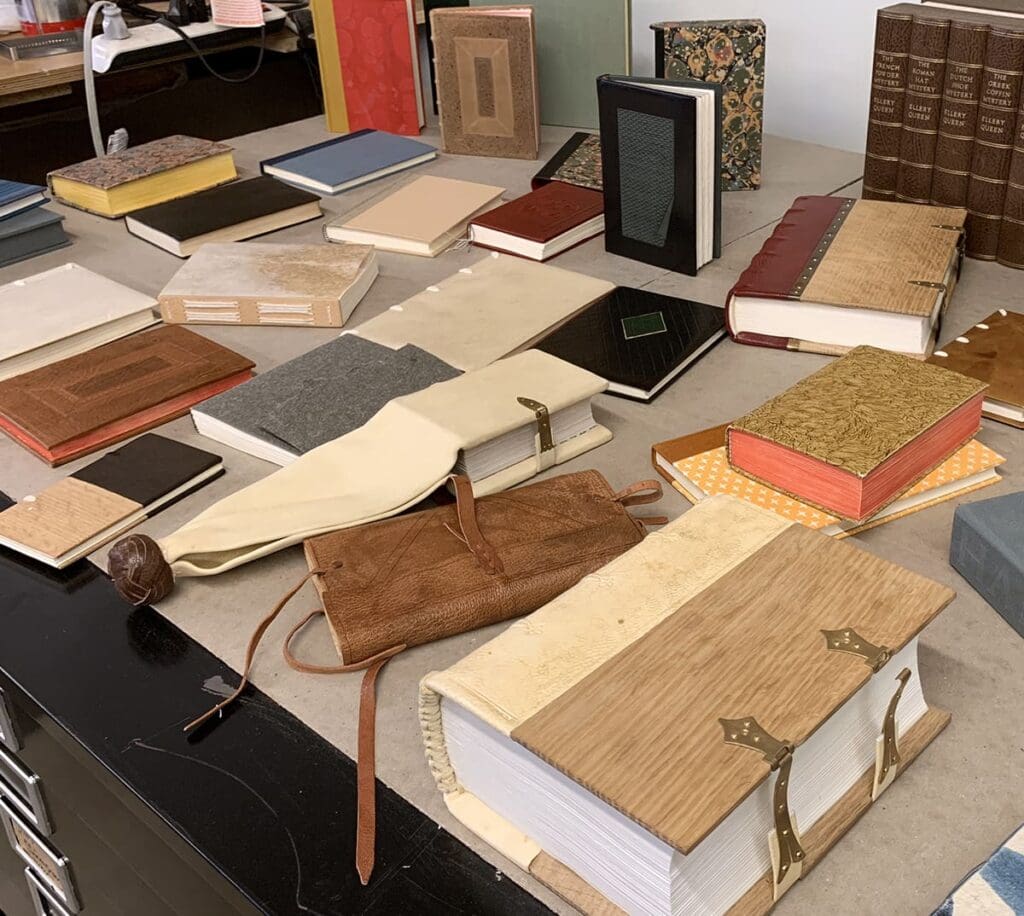
 In an age where digital media reigns supreme, the tactile pleasure of a beautifully bound book remains unmatched. Whether you're a passionate bibliophile, a DIY enthusiast, or a church looking to create personalized hymnals, understanding the art of bookbinding opens up a world of creative possibilities. Partnering with Church Paper makes this process not only achievable but also enjoyable. Let’s dive into the essentials of book binding and discover how easy it can be to craft your own bound masterpieces.
Understanding Book Binding
Book binding is the process of physically assembling a book from a set of printed or written pages. It's a craft that combines precision, patience, and a touch of artistry. There are several methods to choose from, each offering unique benefits depending on the project:
- Saddle Stitching: Perfect for booklets and pamphlets, saddle stitching involves stapling the folded pages along the spine. This method is simple, economical, and ideal for smaller projects.
- Perfect Binding: Often seen in paperback books, perfect binding involves gluing the edges of the pages to a spine. This method gives a professional finish, suitable for larger volumes like catalogs or manuals.
- Spiral Binding: Common for notebooks and calendars, spiral binding uses a plastic or metal coil threaded through holes punched along the edge of the pages. It allows the book to lay flat when open.
- Hardcover Binding: For a durable and classic look, hardcover binding involves attaching pages to a rigid cover. This method is perfect for keepsake books or formal presentations.
Why DIY Book Binding?
There’s a unique satisfaction in crafting something with your own hands. DIY book binding not only gives you complete control over the design and content but also offers a personal touch that mass-produced books lack. Here are a few reasons why you should consider DIY book binding:
- Customization: Choose your paper, cover material, and binding style to reflect your personality or the specific needs of your project.
- Cost-Effective: Save money by binding your own books instead of relying on expensive printing services.
- Creative Expression: Turn a functional task into a creative hobby, experimenting with different materials and techniques.
Getting Started with DIY Book Binding
To embark on your bookbinding journey, you'll need a few essential tools and materials. Here’s a basic list to get you started:
- Paper: Depending on your project, you may need different types of paper. For a premium finish, consider high-quality paper from Church Paper [link to product].
- Cover Material: Choose from a variety of cover options, including cardstock, leather, or fabric. Church Paper offers an extensive range of cover materials [link to product].
- Binding Tools: Essential tools include a bone folder for creasing, a paper cutter or scissors, a ruler, and glue or binding tape. Church Paper provides a comprehensive tool kit [link to product].
- Binding Mechanism: Depending on your chosen method, you may need staples, a binding machine, or a needle and thread.
Step-by-Step Guide to Saddle Stitching
Let’s walk through the process of saddle stitching a simple booklet:
- Gather Your Pages: Print your content and fold each page in half. Ensure the pages are in the correct order.
- Create a Cover: Cut a piece of heavier paper or cardstock slightly larger than your pages to serve as the cover. Fold it in half.
- Align and Staple: Place the folded pages inside the cover and align them neatly. Use a long-arm stapler to staple along the spine at the fold, typically in two or three places.
- Trim the Edges: If necessary, use a paper cutter to trim the edges for a clean finish.
Perfect Binding Made Easy
For a more professional look, perfect binding is an excellent choice. Here’s a simplified version of the process:
- Stack Your Pages: Arrange your printed pages in order and clamp them together to keep them aligned.
- Apply Adhesive: Use a brush to apply a strong adhesive to the spine edge of the pages. Ensure even coverage.
- Attach the Cover: Place your cover material around the glued spine, pressing firmly to adhere. Hold in place until the adhesive dries completely.
- Trim to Size: Once the glue is dry, trim the edges to ensure they are even.
Why Choose Church Paper for Your DIY Book Binding Needs?
Church Paper is your ultimate partner in DIY book binding, offering high-quality materials and tools to make your projects shine. Here’s why partnering with Church Paper is a game-changer:
- Superior Quality: From premium paper to durable covers, our products ensure your projects look professional and last long.
- Comprehensive Kits: Our all-in-one kits include everything you need to get started, making the process seamless and stress-free.
- Expert Guidance: Our experienced team is always ready to assist you with tips and advice, ensuring your success at every step.
Experience Our 5-Star Customer Service
Ready to embark on your bookbinding journey? Visit churchpaper.com or call us at 800-626-5222 to discover our extensive range of products and experience our 5-star customer service. Whether you're creating church hymnals, personalized notebooks, or custom presentations, Church Paper is here to help you bring your vision to life with ease and efficiency. Don’t wait—start your DIY book binding project today and see the difference quality materials and expert support can make!
 In an age where digital media reigns supreme, the tactile pleasure of a beautifully bound book remains unmatched. Whether you're a passionate bibliophile, a DIY enthusiast, or a church looking to create personalized hymnals, understanding the art of bookbinding opens up a world of creative possibilities. Partnering with Church Paper makes this process not only achievable but also enjoyable. Let’s dive into the essentials of book binding and discover how easy it can be to craft your own bound masterpieces.
